Grading Blog
Block painting
Woodblock printing is a technique used to print text, images, or patterns. At first it was printed onto textiles until a later date where they printed onto paper. The earliest technique dates back to 220 AD China. Woodblock printing was mainly used from the 7th century all the way up to the 19th century, it was the most common printing method through those times. Woodblock printing can also be used for printing books. Woodblock printing can be used for many things in daily life, it can be used for putting designs on paper, printing words for a card/paper for a friend/family member, it has many uses that anyone can do. It interests me because it allows me to print custom designs that I can print for friends or family members.
Before the invention of woodblock printing seals and stamps were used to make impressions . These impressions were used to put on clay tablets back in the days of Mesopotamia. Using the impressions in this was dates back all the way to Mesopotamia in 300 BC. There a much larger brick found from Akkad that dated back to around 2200 BC. These stamped blocks were just used for impressions so there was no ink printing but these were some of the earliest examples of the style of printing.
Woodblock printing later appeared in Asia around 200 BC. This version of printing was created in Asia several centuries before it appeared in Europe. In China there was an alternative to woodblock printing which was called reprography to in a way copy the image of the text so that they can recreate the text without having to start from scratch and remake everything. The things you needed for this process was your woodblock that was cut in the relief pattern (later discussed), ink, and cloth or paper to be printed onto.
The technique for woodblock painting is a relief pattern which means all the areas that are going to show white are to be cut away from the block. The area or characters left behind that are not cut away are to be made a color of your choosing to be printed onto to your paper/thing you would like it printed on. When you are printing from your block you want to push the block against what you want to be printed on firmly so that you have the best print possible. If your block is not against your object you want the print on firmly then your print will not turn out to be as good as you would like for it to be.
There is also linocut printing which is linoleum block printing. In this you also use the relief pattern but when it is printed onto paper or onto a cloth it is a mirror image of the block. The block has inked applied to it by a roller which is called a brayer. Since the linoleum has no grain on it the block allows for more freedom with your choice of print. The linoleum block does not split unlike how wood can split. Since linocut does not take the highest level of knowledge and skill it is widely used in school to introduce print making to students in art classes.
Dip pen drawing
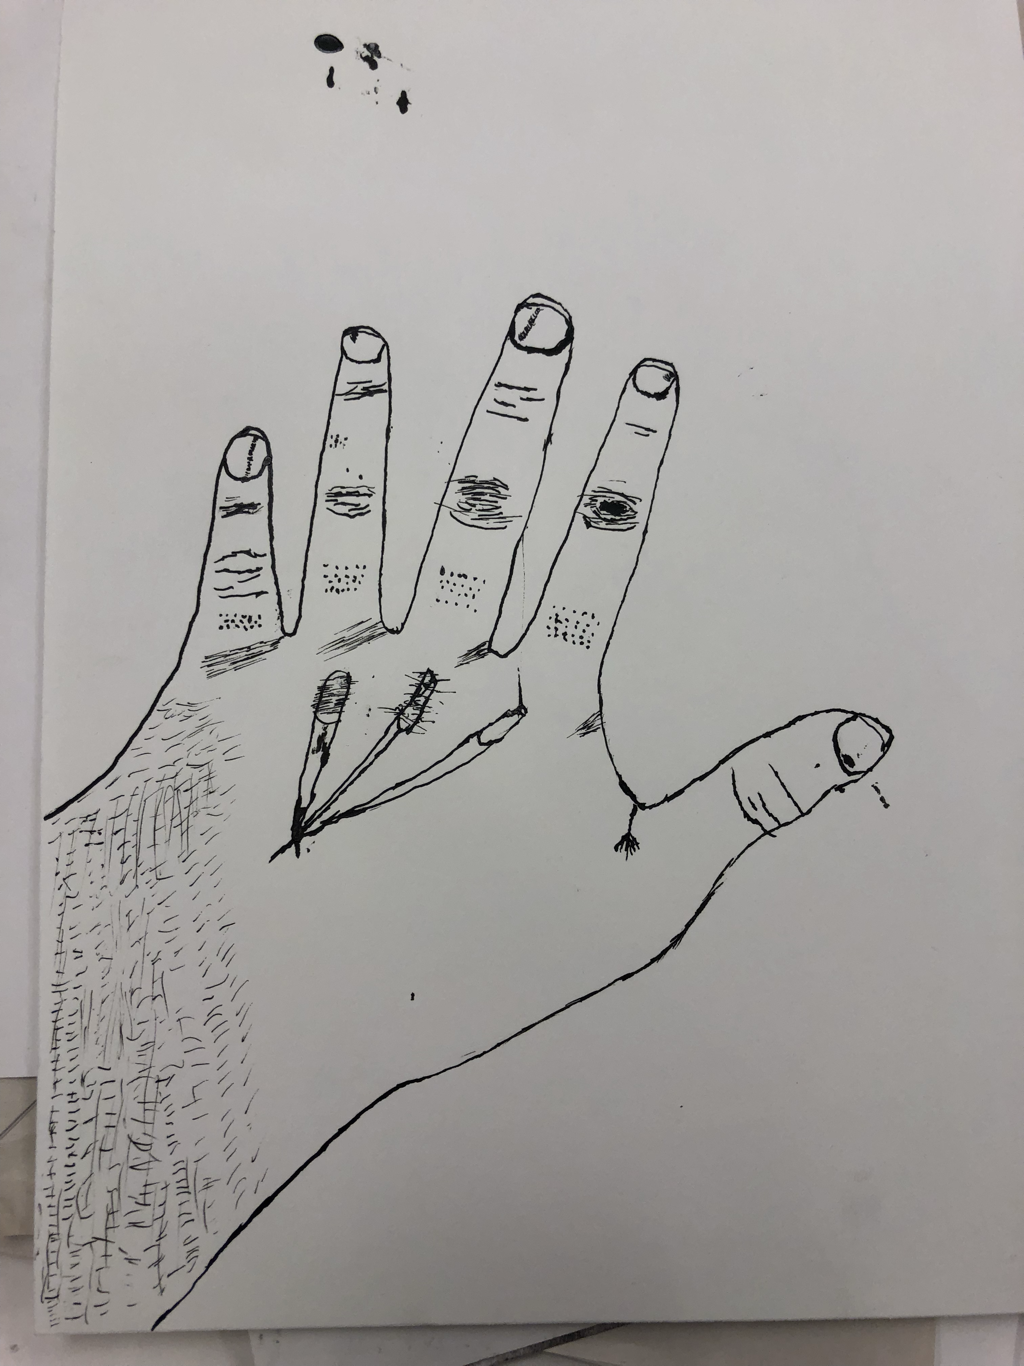
This is my dip pen drawing. In this I decided to draw my hand or attempt to and incorporate all parts of it. I did not fully finish this drawing. In this I tried using the skills of lighter and darker lines. I used the art elements of value and line in order to attempt to create contrast. While making this I had a calming feeling and the mood of trying to get the hand correct.
3/4 Portrait Painting
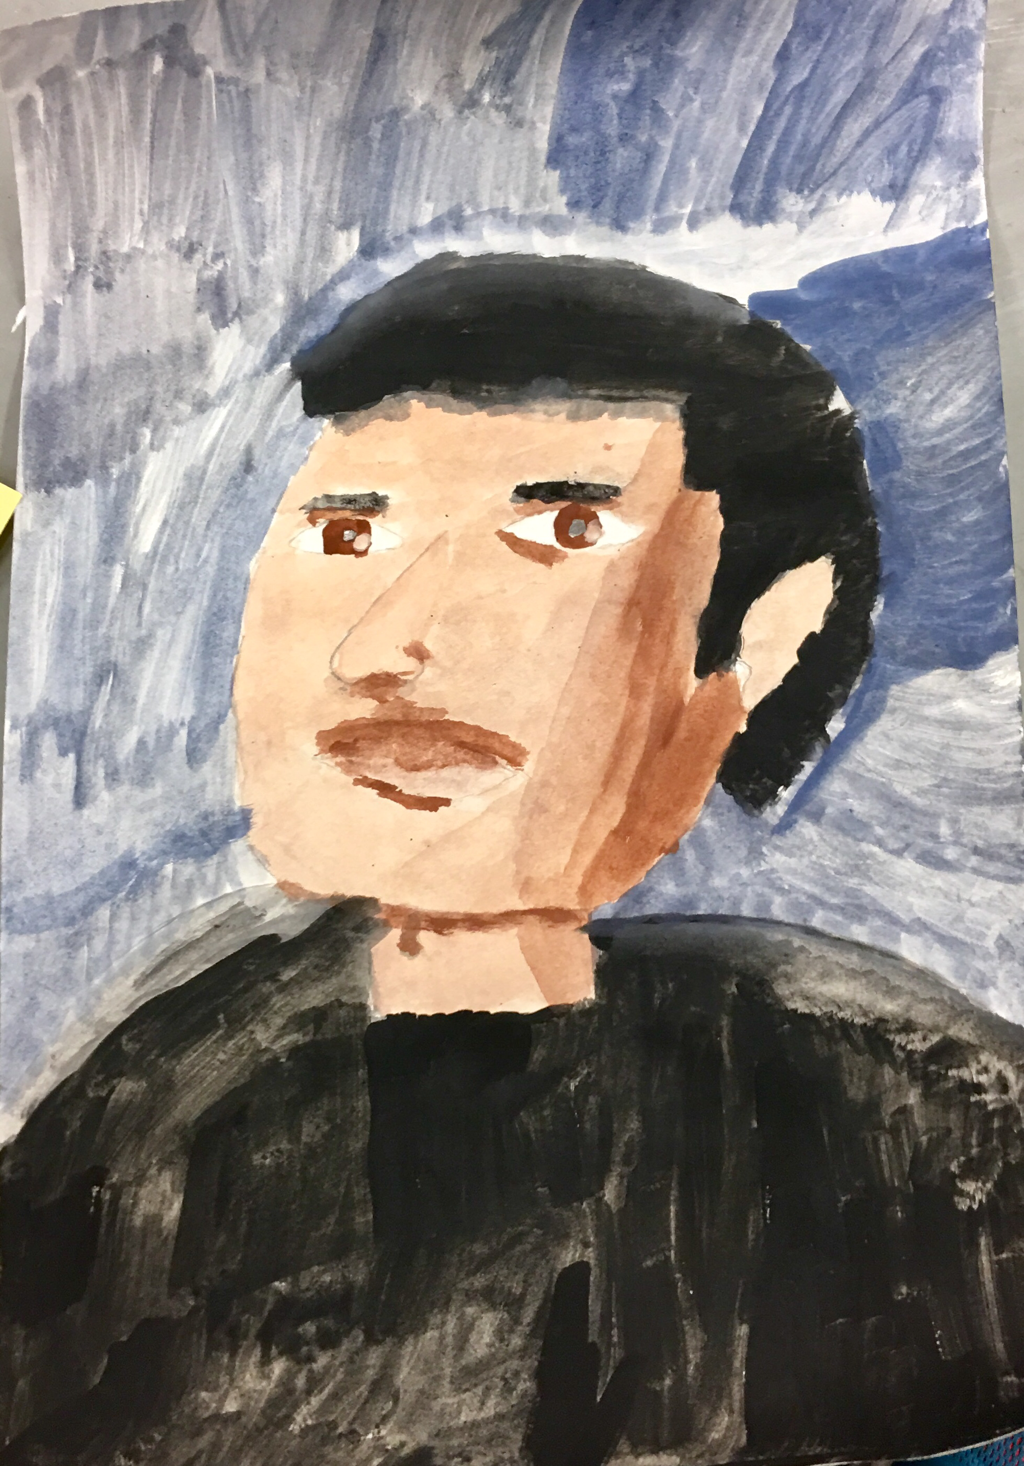
This is a 3/4 portrait painting of one of my friends. First I used me pencil to get a general outline for my painting. The skill I attempted to use was 3/4 perspective. The art elements I attempted to use were: line, value, shape, and color. The art elements were used in order to try and creat the design elements of: contrast, emphasis, and pattern. Throughout this paintings creation I had the feeling of being stressed to try and get this similar to correct.
Self Portrait Drawing
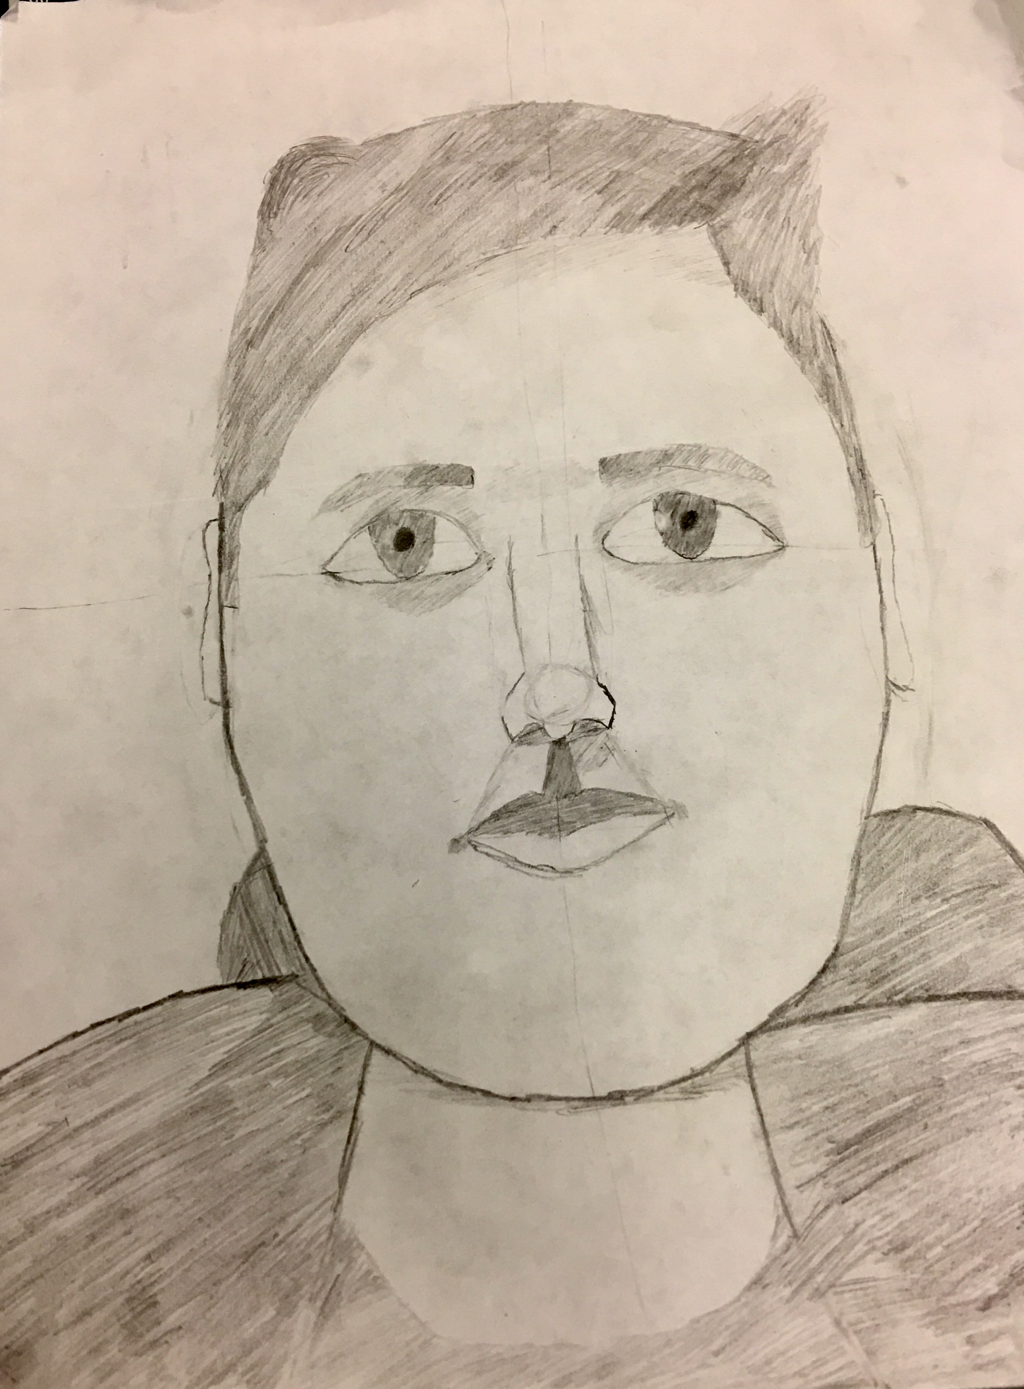
This is my pencil self portrait drawing. In this I used a straight on perspective for the drawing. In this I attempted to use the art skill of straight on perspective in order to get shading. The elements that I attempted to use in this drawing is line, value, and shape. These art elements attempted to create the design element of contrast. Throughout the creation of this drawing I tried my hardest to truthfully make myself through the use of my pencil. Also while creating this I was very relaxed and calmed while making a drawing that was extremely fun for me to make.
Hallway Drawing
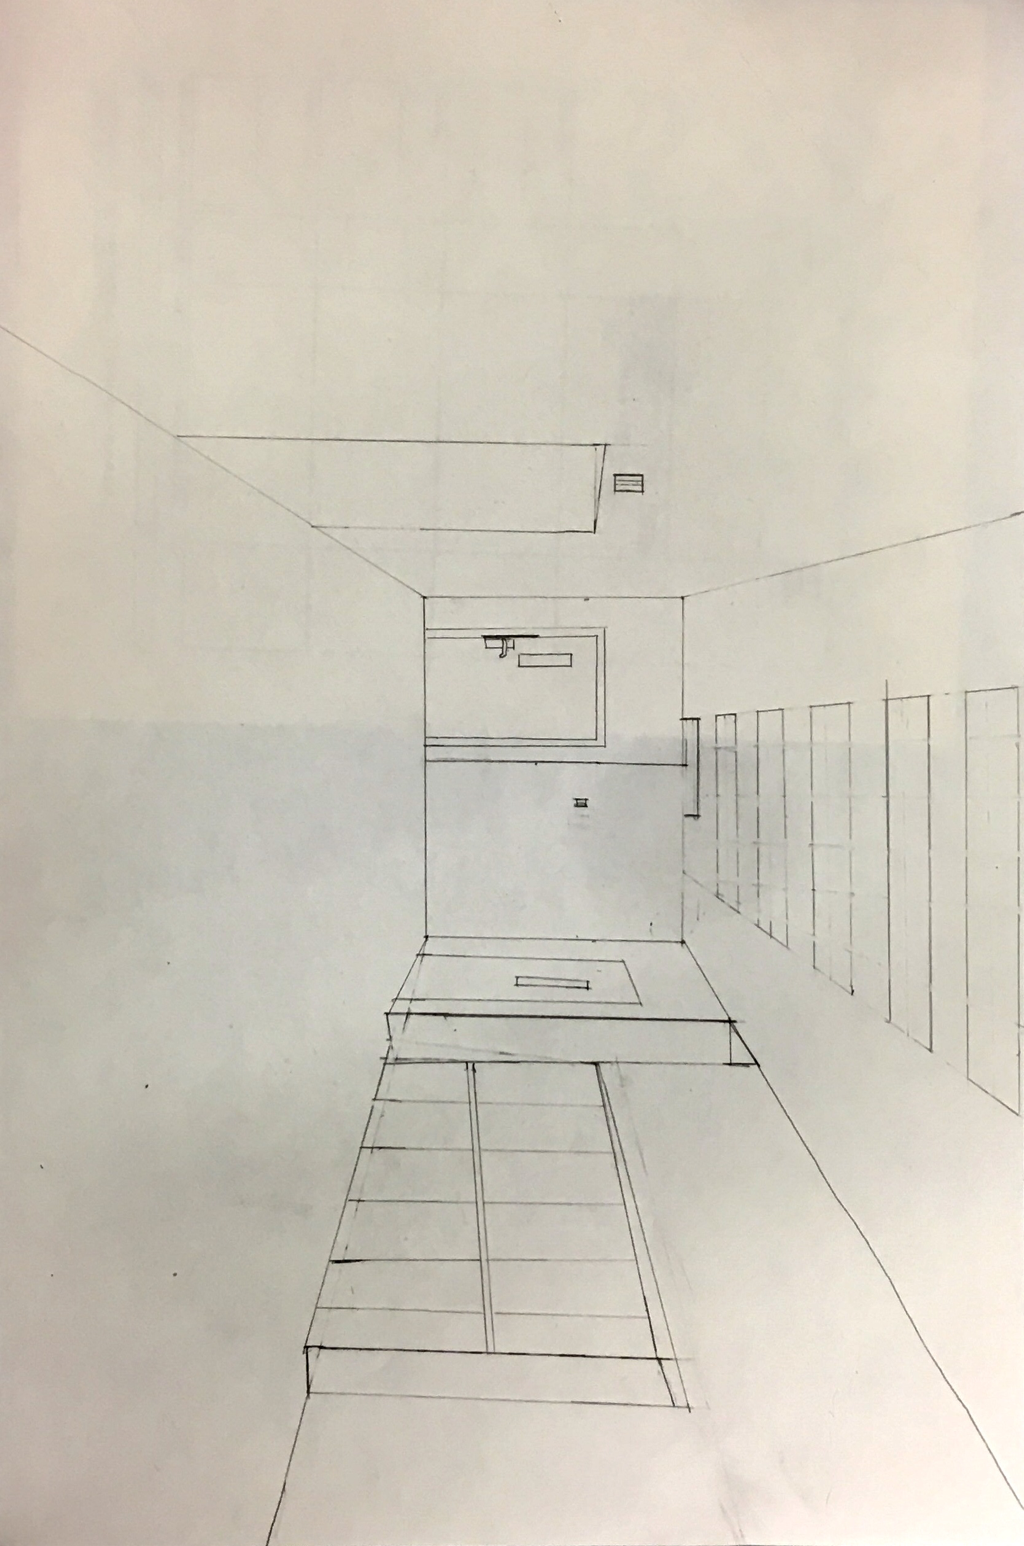
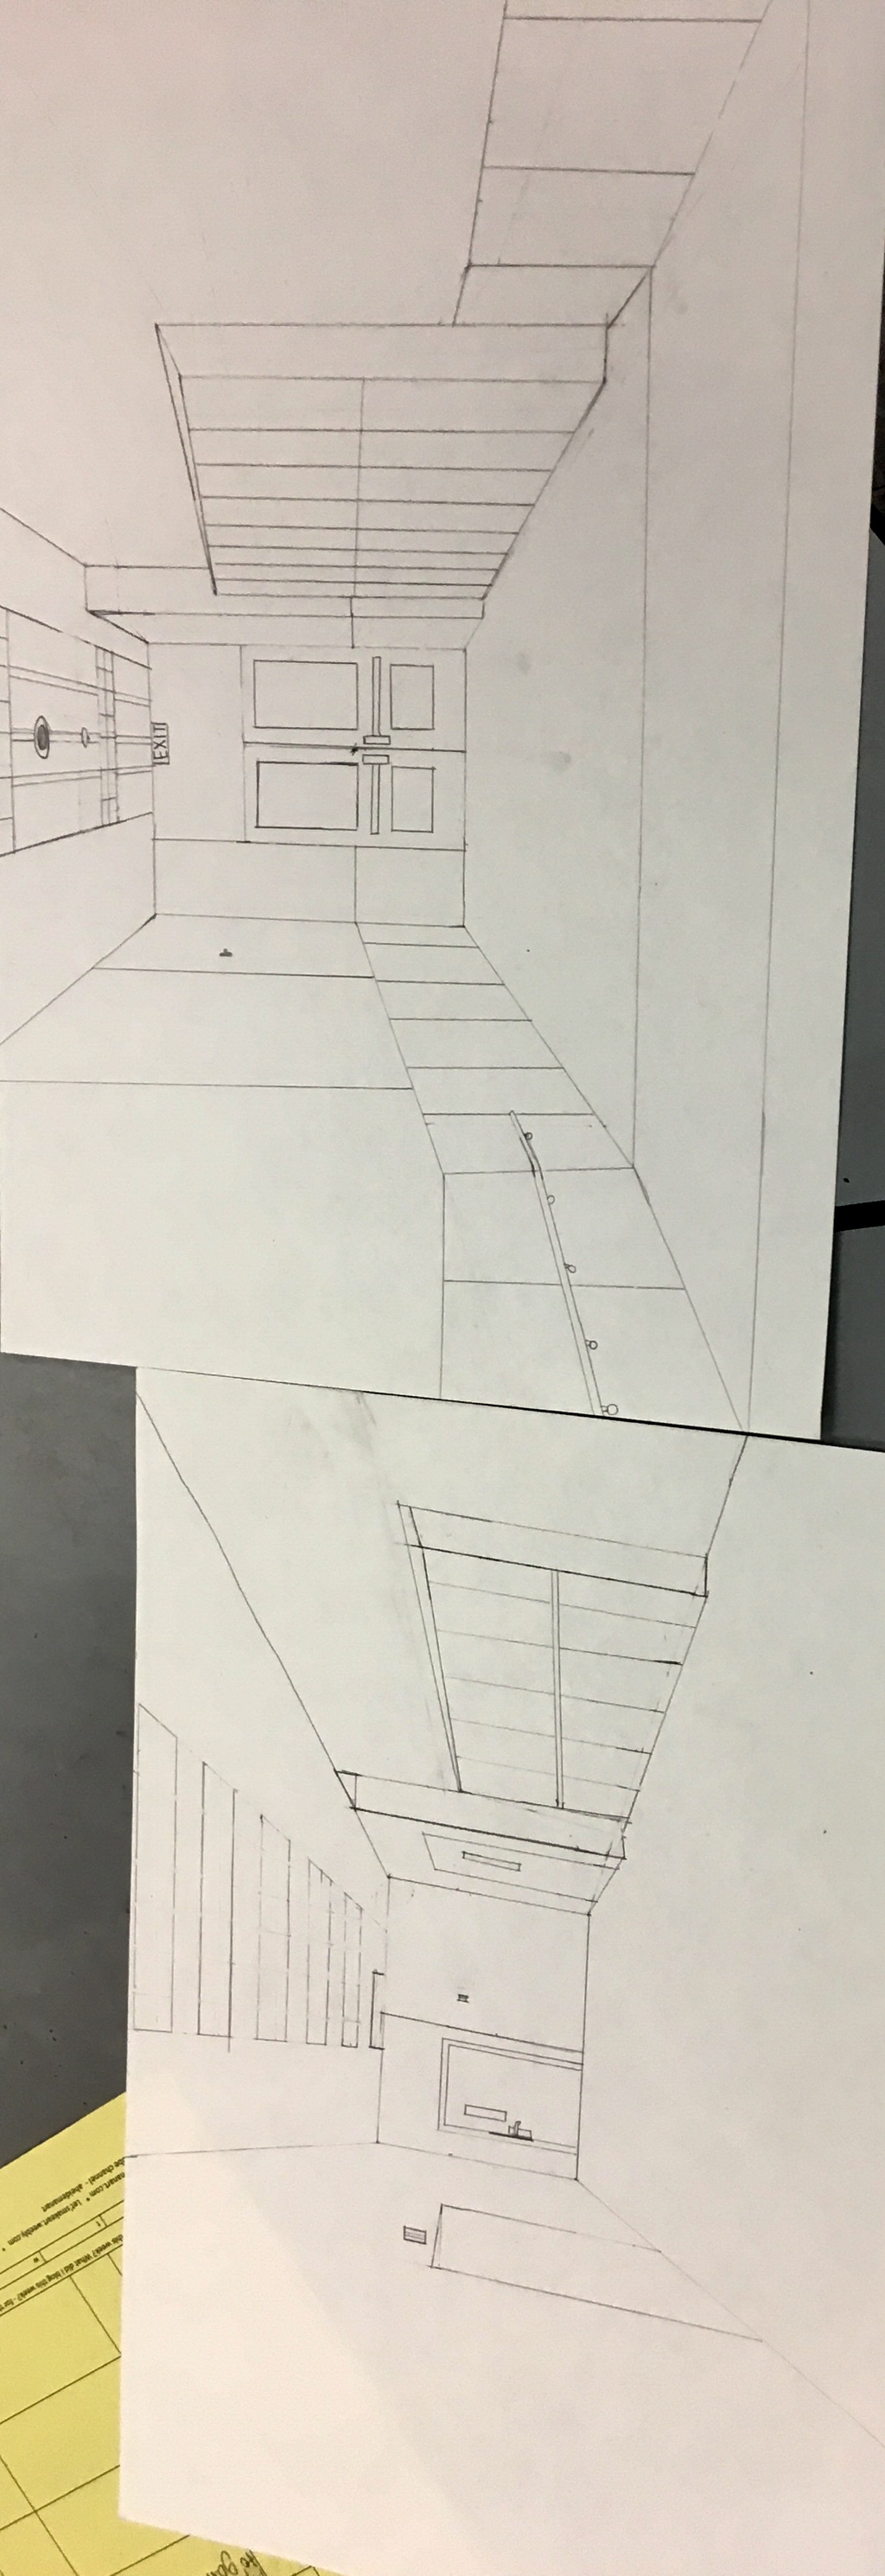
This is my hallway one perspective drawing. In the second picture my drawing is paired with my friends drawing. In this we tried to use the skill used in this was one point perspective. In this we tried to use the art elements of line in order to form shapes. We tried to use value in order to show depth. We tried to use space also to show depth and contrast within the drawing. Throughout creating this it had the feeling of bringing a hallway to life through my pencil.
Leaf Water Color
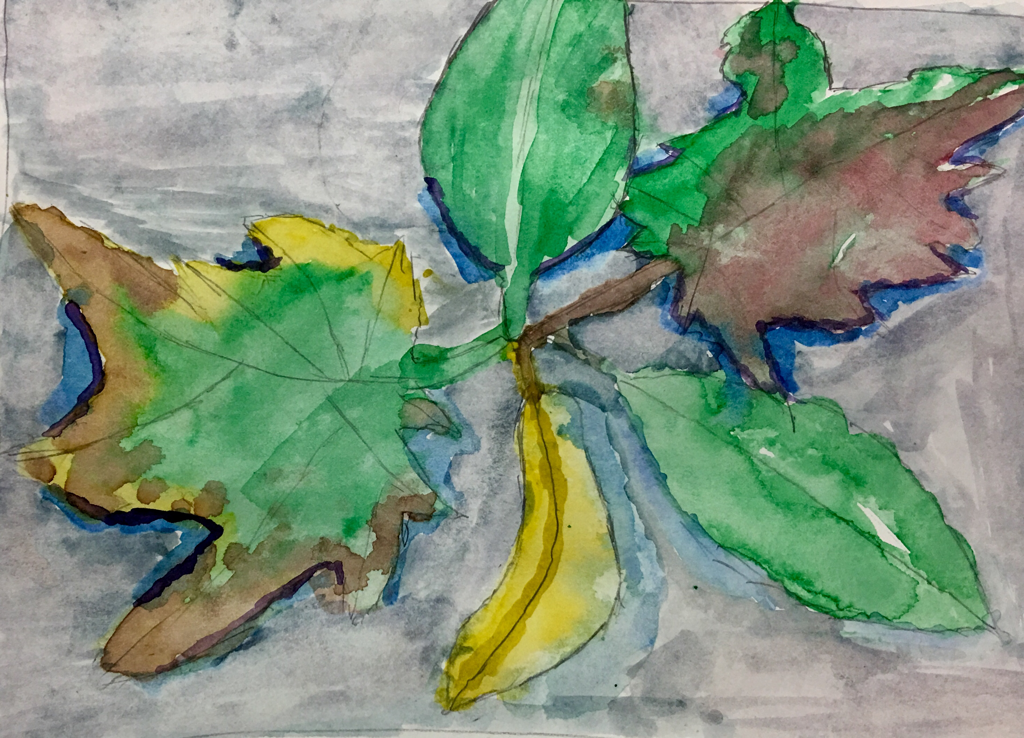
This is a leaf Water Color painting. In this we put leaves on a piece of newsprint in order to take a picture so that we could paint from the picture. This painting took me two tries to do because on the first one I did not go from light colors to dark colors or do my shading while painting the leaf. In the painting we used lines and shapes to make our leaves and we used color in order to give my painting value. When I used the color to make value it added depth to my painting, I also used color in order to add contrast within the leaves. While making this painting I was feeling worried because I wanted to make sure that I followed the rules exactly how they should be followed. I also sort of felt calm at the same time when I actually started painting because it was soothing to make the painting and just not worry about anything but adding color to my leaves.
Room drawing
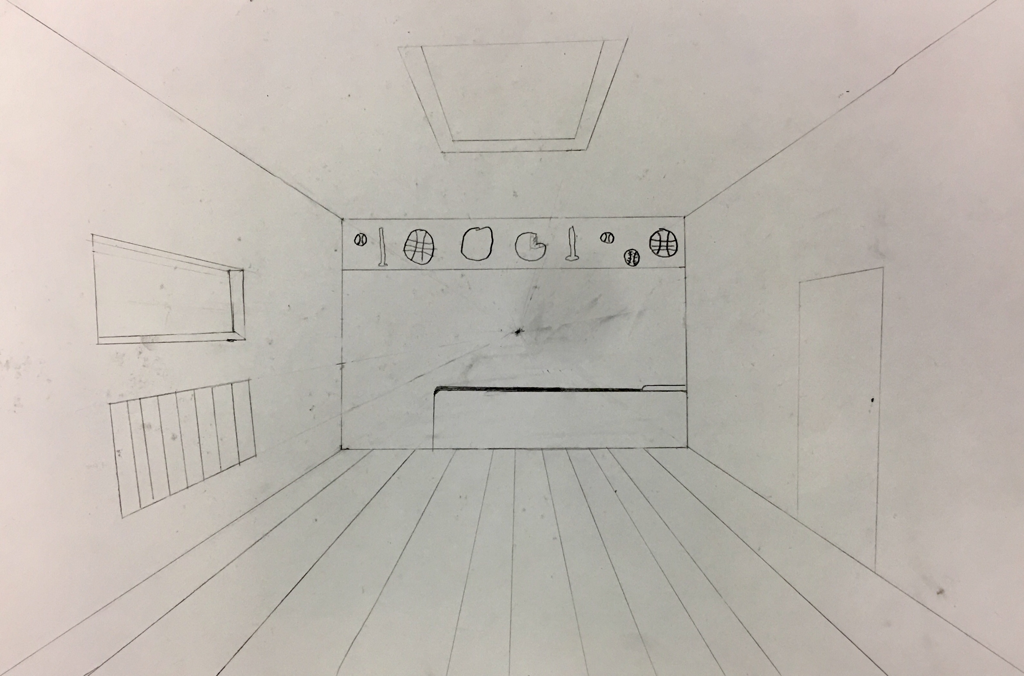
.This is a pencil room drawing using a one point vanishing point. The art skills I used was drawing straight lines. An art element I used is depth my making the objects in the room 3D by using the vanishing point to give it depth through certain objects. Throughout drawing this I was very confused with it but the project was still very fun to do. I enjoyed doing this drawing and being with friends because it created a fun experience for myself
Pepper shading drawing
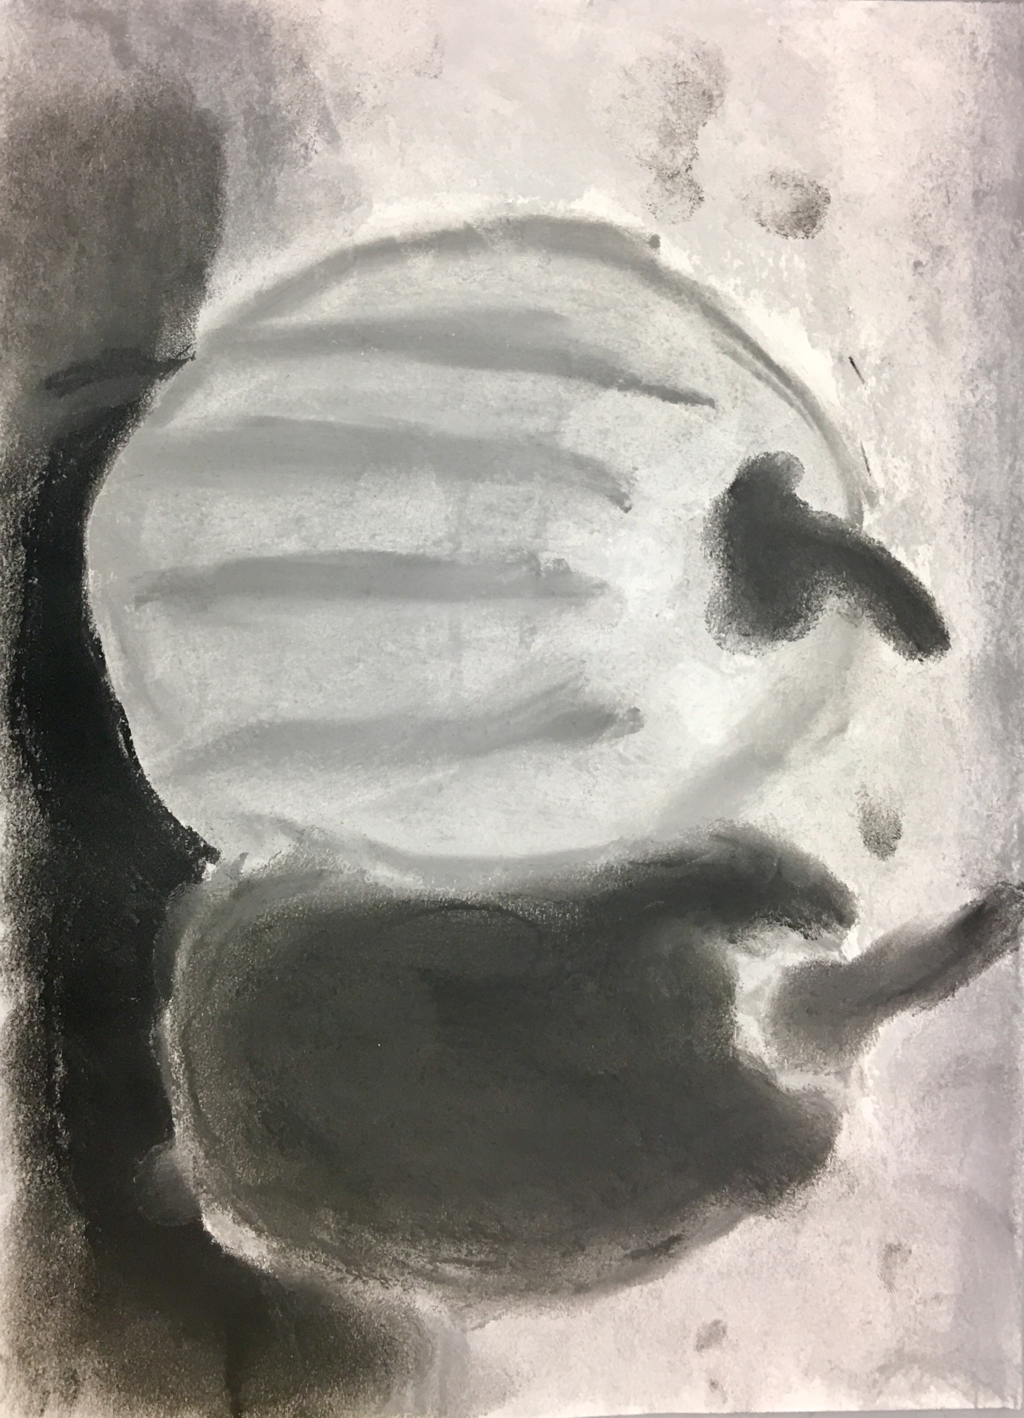
We made a picture of peppers by using pastels to shade the peppers. The intent of this picture was to show different levels of shading on our peppers. I used the skill of shading in order to show depth in the peppers and their background. The art element I used was value in the shading of the peppers and their background to show depth in the picture in order to bring the peppers forward. The pepper had the feeling of bringing vegetables into our drawing and made me feel like I was able to bring them to life.
Landscape Drawing
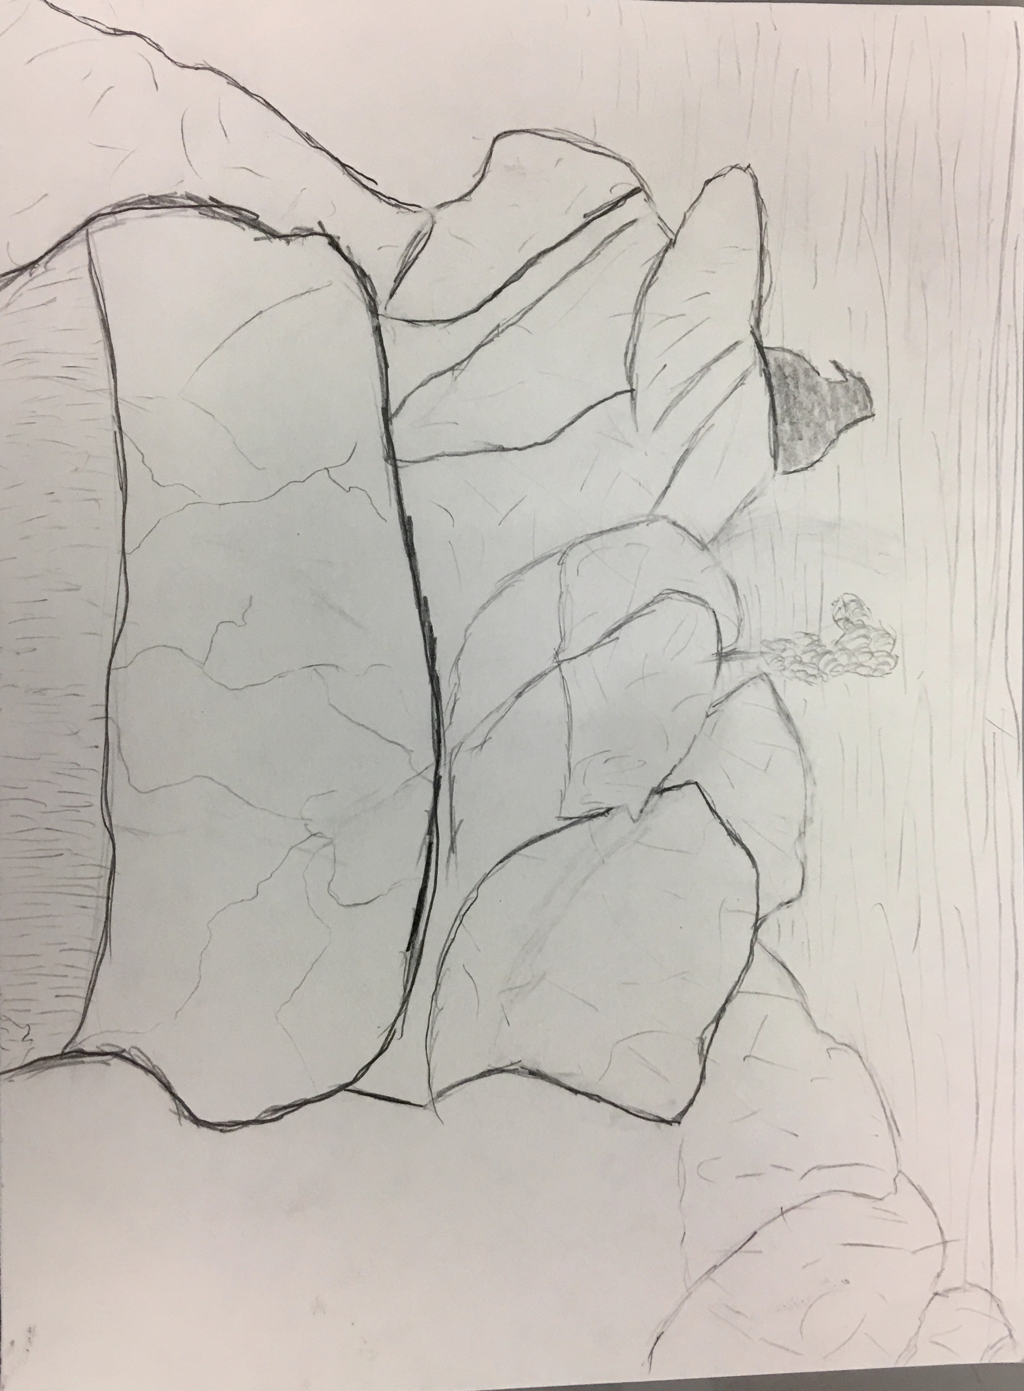
We made a landscape pencil drawing of a picture that we took. We used a pencil to form lines of different lengths and sizes to create our picture. I used the art element of value to make my lines lighter and darker in order to bring depth and space into my picture to show that there is a difference in the rocks. The drawing made me feel like I was connected to nature and feeling like I was in the moment again and seeing the beauty of the place I live.
Leaf Drawing
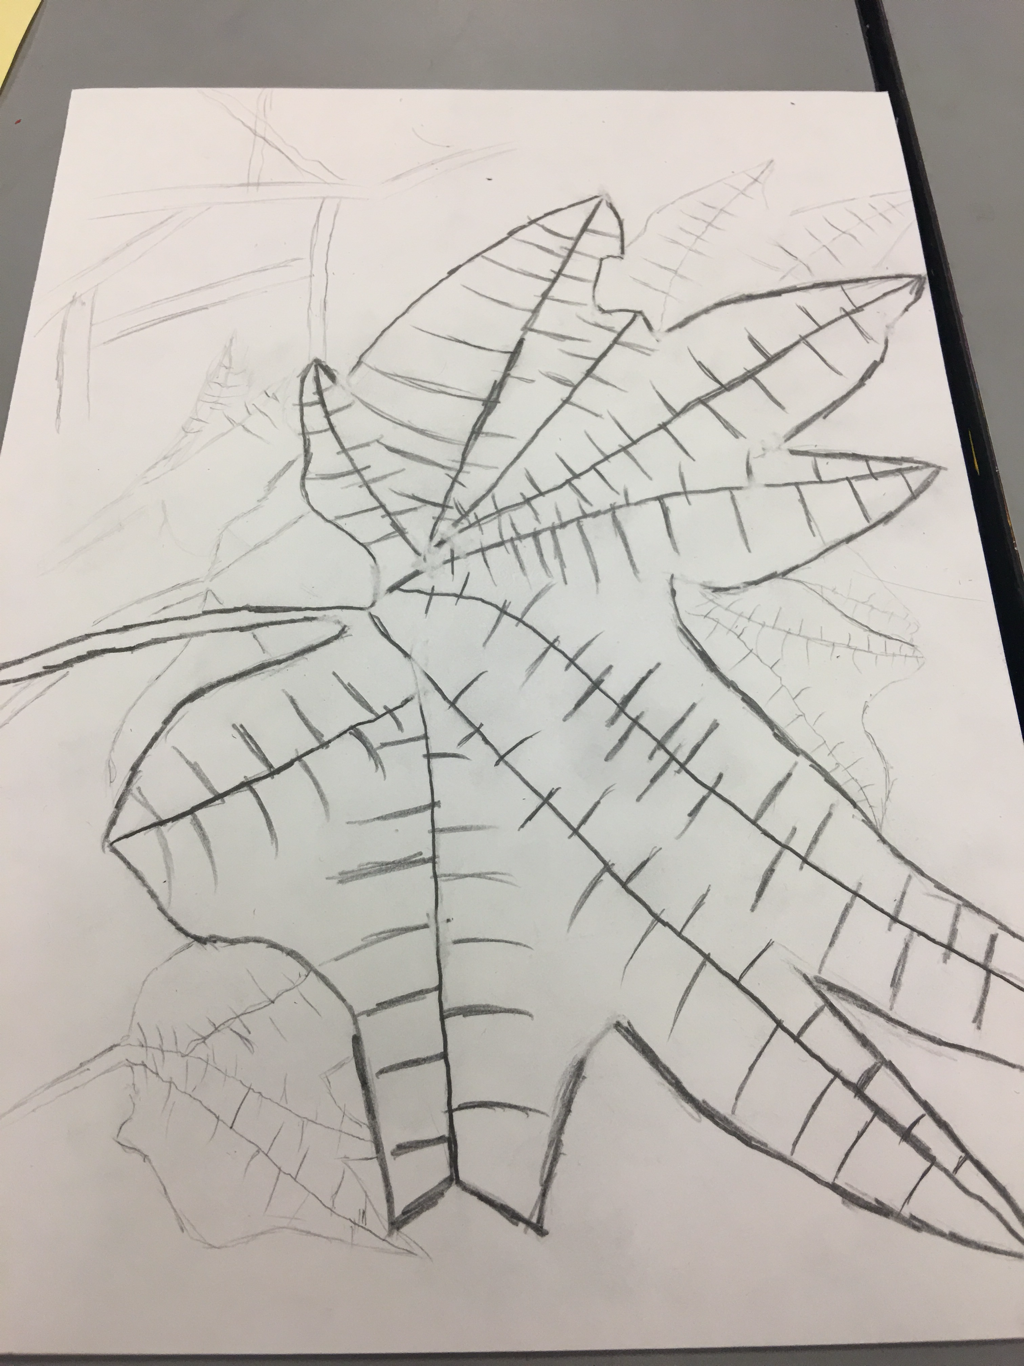
The project we did was a pencil leaf drawing. We practiced our skill of drawing lines to turn them in to other shapes. In this project we used straight lines to make shapes. After we got the shapes we used value to show overlap and contrast between the leaves. It made me feel relaxed while drawing it and it took my mind off of everything but drawing this and making it look nice.
Swirling Squares
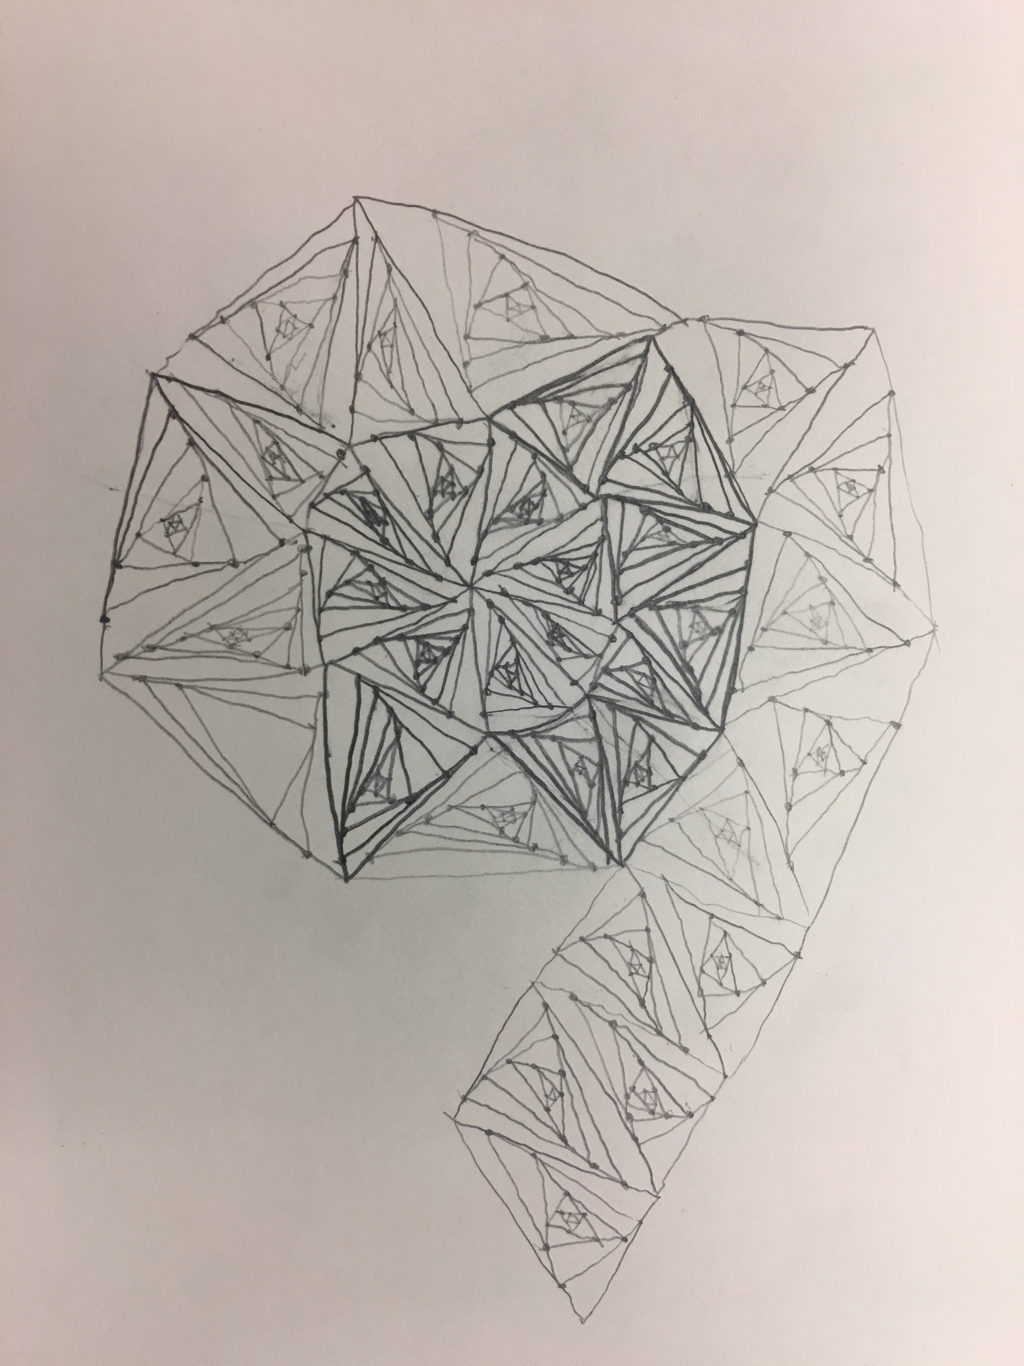
The name of the project was swirling squares. The goal of the project was to design and overlap shapes to show depth in our project while also changing the value of the line to show depth. One skill I used in the project was how hard I pressed my pencil down. I pressed my pencil down harder so that lines were darker or I barely pressed it down so that I could have lighter lines so that the squares looked further away. In the project we used depth, value, line, and shapes in this project. The design elements were contrast, pattern, and proportion/scale. While drawing this it was calming and it just flowed and just drew itself. The project is important because it taught us some early art skills and started our path of learning.
